Create a recording or Webcast
For staff on how to create a recording or a webcast using Panopto.
This page explains how to record a lecture or other content using Panopto. If you would like students to join the session remotely, please follow the live webcast steps.
Create a live webcast
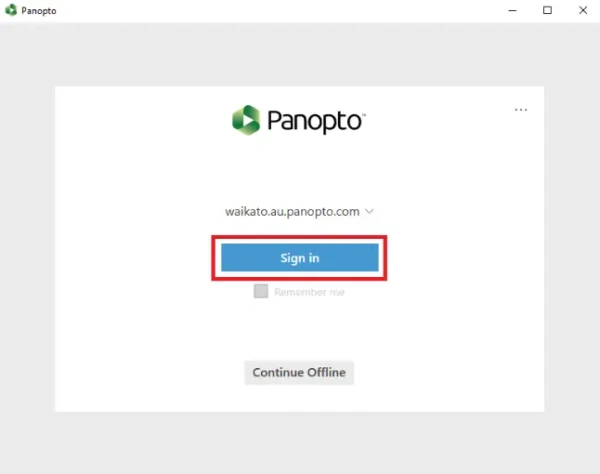
- On the desktop, double-click the Panopto icon to open the Panopto Recorder app. Alternatively, you can search for the app in the device system.

- Select Sign in.
 Note: If you are not logged into Moodle, you will be required to log into your university account.
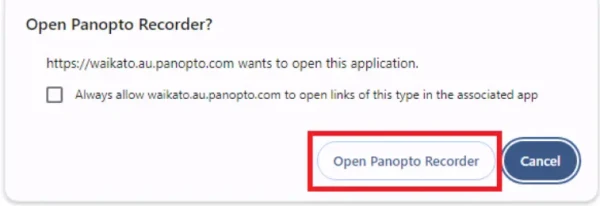
 - Your default web browser will open. Select Open Panopto Recorder in the window that pops up to begin using the app.
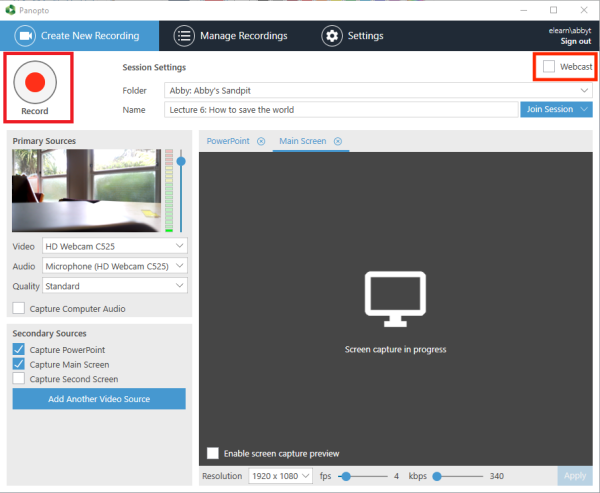
- Once you are signed in to the Panopto app, click on the drop-down arrow to select the Folder where you want to save your recording.
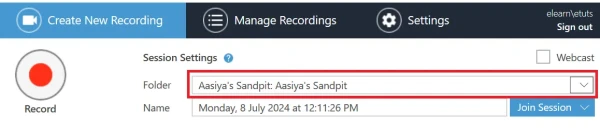 Note: If your desired paper/folder is not available, the folder or your access to the folder may not be correctly set up. You can save the recording, but students will not have access to the livestream. Ring the Service Desk hotline for help with this in lecture theatres.
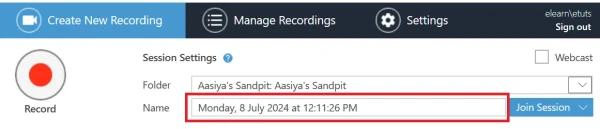
 - Name your recording so that it is easy for you and your participants to find.
- Select Primary Sources and Secondary Sources (e.g. audio, video, screen, PPT, Document Camera).
Note: Ensure that you have selected an Audio source, and the sound meter shows audio levels are OK.
- Select the tick box next to Webcast at the top right, then select the Record button in the top left-hand corner.
 Note: Students access the live session by going to the Panopto block in the Moodle paper, then under Currently Recording, selecting Watch Live. See Watch a live recording.
Create a recording
- Follow steps 1 to 4 above.
- Once you are signed in to the Panopto app, click on the drop-down arrow to select the Folder where you want to save your recording.
Note: If your desired paper/folder is not available, the folder or your access to the folder may not be correctly set up. You can record to another folder, then move the recording later. However, if you webcast your students do not have access.
- Name your recording so that it is easy for you and your participants to find.
- Select Primary Sources and Secondary Sources (e.g. audio, video, screen, PPT, Document Camera).
Note: Ensure that you have selected an Audio source, and the sound meter shows audio levels are OK.
- To start recording, select the Record button in the top left-hand corner.

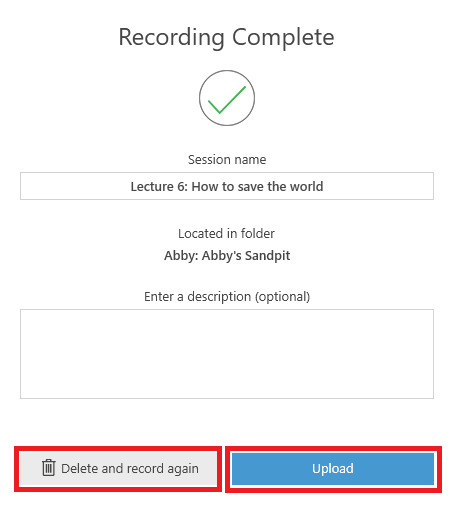
- When you have finished recording, select Stop. This step saves your recording.
 Note: You can Pause the recording and Start again when ready. Recording continues in the background and can usually be retrieved in editing, if you remember to Stop the recording to save it.
 - Select Delete and record again if you are not happy with your recording and want to re-do it, or Upload if it is fine.
Note: After selecting Upload, the recording will be first uploaded to the Panopto database, then processed before being made available for viewing, editing and sharing. You can log out after the upload is complete (make sure to not log out before), the processing will not be affected. The processing time may take up to a few hours.